
Prep time
72 h.
Cooking time
40 min.
Serves
4
Cuisine
Italian
Difficulty
Don't want to retype the link? Scan the QR code with your camera and you'll land on this page!
On iOS, you can use the built-in camera; on Android, you need to download a QR code scanning app.
About this recipe
Prepare delicious chicken carpaccio at home! This recipe will allow you to create a delicacy that will surpass store-bought versions in taste and quality. Discover the secret of making real carpaccio - not smoked, but dry-cured, preserving all the tenderness and aroma of fresh meat.
Ingredients list
Total ingredients: 8
Serves:
Chicken fillet - 1 kg
Salt - 1 kg
Sweet ground paprika - 2 tsp.
Garlic powder - 2 tsp.
ground coriander - 1 tsp.
Seasoning Mix of peppers - 1 tsp.
Zira - 1 tsp.
Chili powder - 3 g
Nutrition facts
Serves:
🥓
Fat
16г
🍚
Carbohydrates
26г
🥩
Proteins
238г
🔥
Kcal
Daily values
Preparation steps
Step 1
Prepare the chicken fillets. Thoroughly prepare the chicken fillets: remove the smaller fillet, get rid of films, veins, and uneven edges. Your goal is to obtain perfectly smooth and clean pieces.
Step 2
Create a salt base. Pour a layer of salt about a centimeter thick into a rectangular container or baking dish. Roll each fillet in salt and carefully place it in the container, making sure they do not touch each other or the walls of the mold.
Step 3
Salting in the cold. Cover the chicken breasts completely with a thick layer of salt. If you are preparing a large amount of carpaccio, it is permissible to stack the fillets in several layers, but do not forget to interlay them with a sufficient amount of salt. Compact the salt structure with your hands and put it in the refrigerator for 6-8 hours.
Step 4
Salt removal. Take the container out of the refrigerator, remove the fillet from under the layer of salt. You will notice how the meat has become denser and firmer, and the salt is moist from the extracted juices.
Step 5
Rinsing and drying. Thoroughly rinse the fillets in running water to completely remove any remaining salt, especially from the folds. Then thoroughly pat the meat with paper towels to remove excess moisture.
Step 6
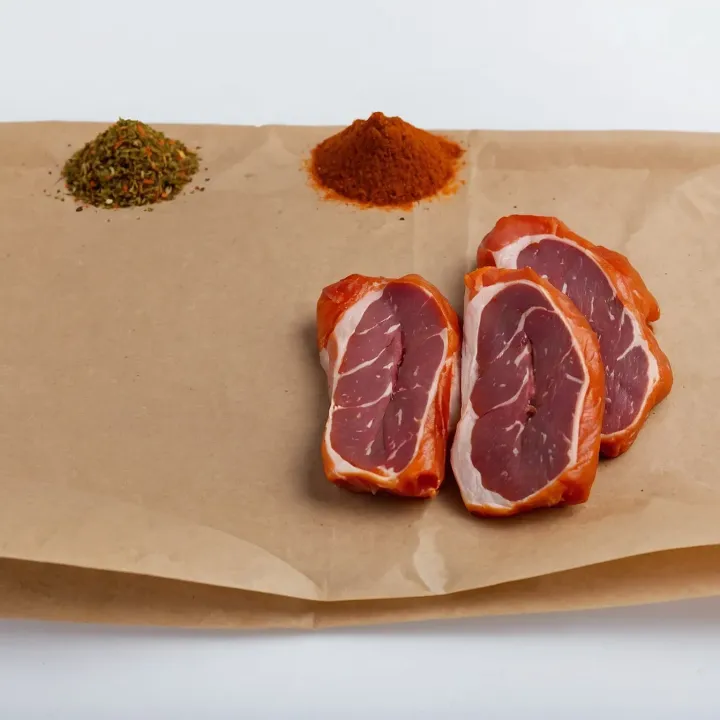
Aromatic blend of spices. Combine your selected spices in a bowl, based on your preferences. For those who like it spicy, add more chili powder. Coat the chicken fillets in this mixture so that they are evenly covered on all sides.
Step 7
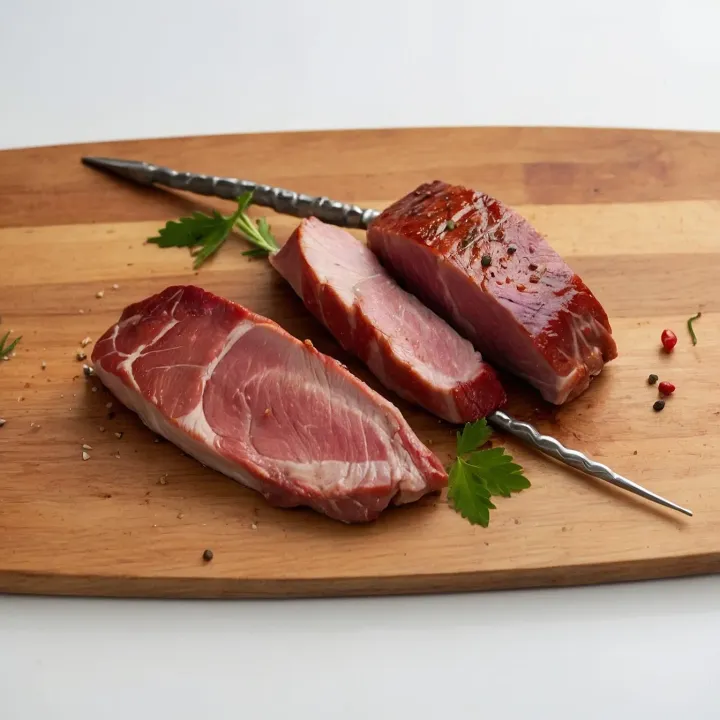
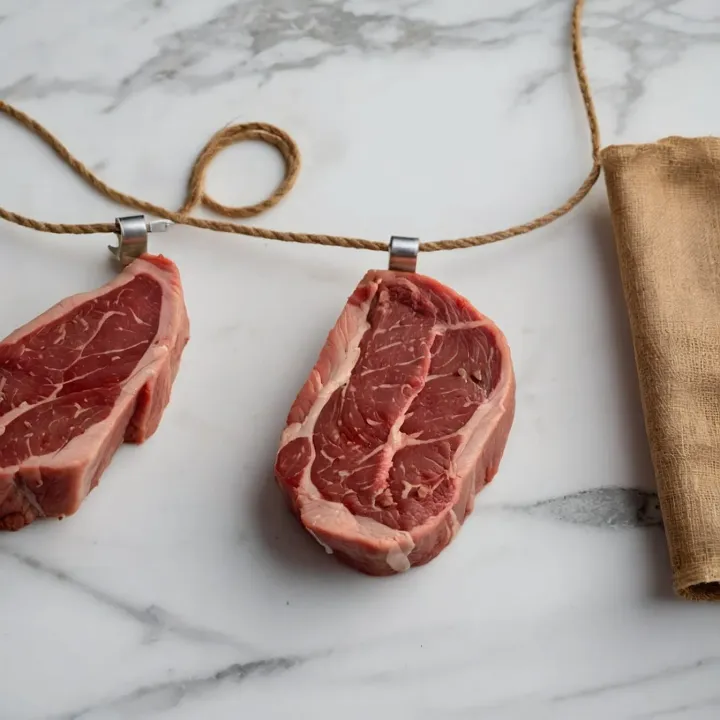
Hanging for curing. Hang pieces of fillet for curing in any convenient way. Use spokes, thick needles, twine, wire, or even skewers. Large paper clips turned into hooks are a great solution.
Step 8
Choosing a place for curing. Place the hooks with fillets on the racks for drying clothes on the balcony (if the temperature outside is above zero) or on a rack in the kitchen, ensuring good ventilation. In the summer, it is recommended to wrap each fillet in gauze to protect it from insects.
Step 9
Curing time. Let the meat cure for 2–3 days, adjusting the time depending on the desired hardness of the carpaccio. The longer the meat cures, the harder it becomes. Wrap the finished pieces in parchment paper and refrigerate.
Step 10
Presentation. Cut the pieces of cured fillet into thin slices across the grain or slightly diagonally. Serve the tender, translucent, and fragrant carpaccio and enjoy!
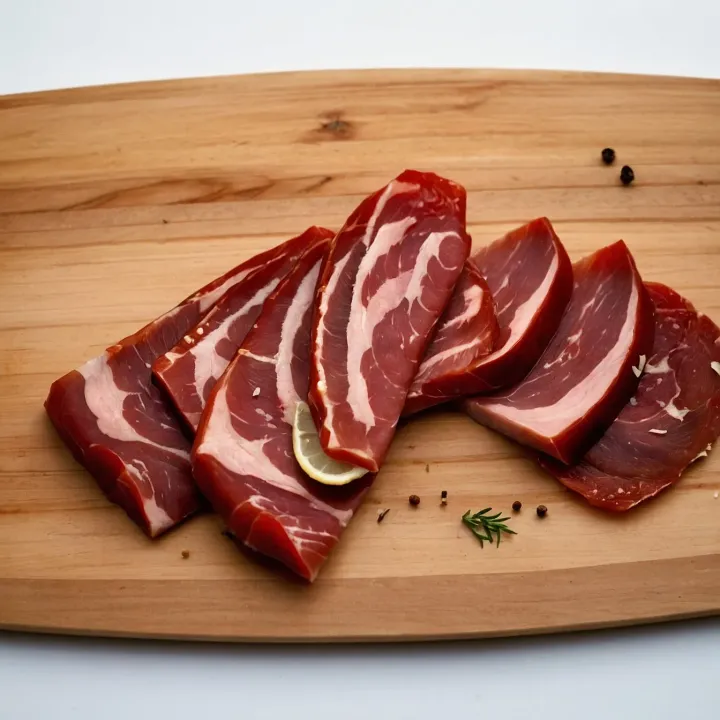
Enjoy your meal!
Follow the instructions step by step