Prep Time
4 h.
Cooking Time
40 min.
Serves
8
Difficulty
Don't want to rewrite the link? Scan the QR code with your camera and go to this page!
On iOS, you can use the built-in camera; on Android, you need to download an application to scan QR codes.
About This Recipe
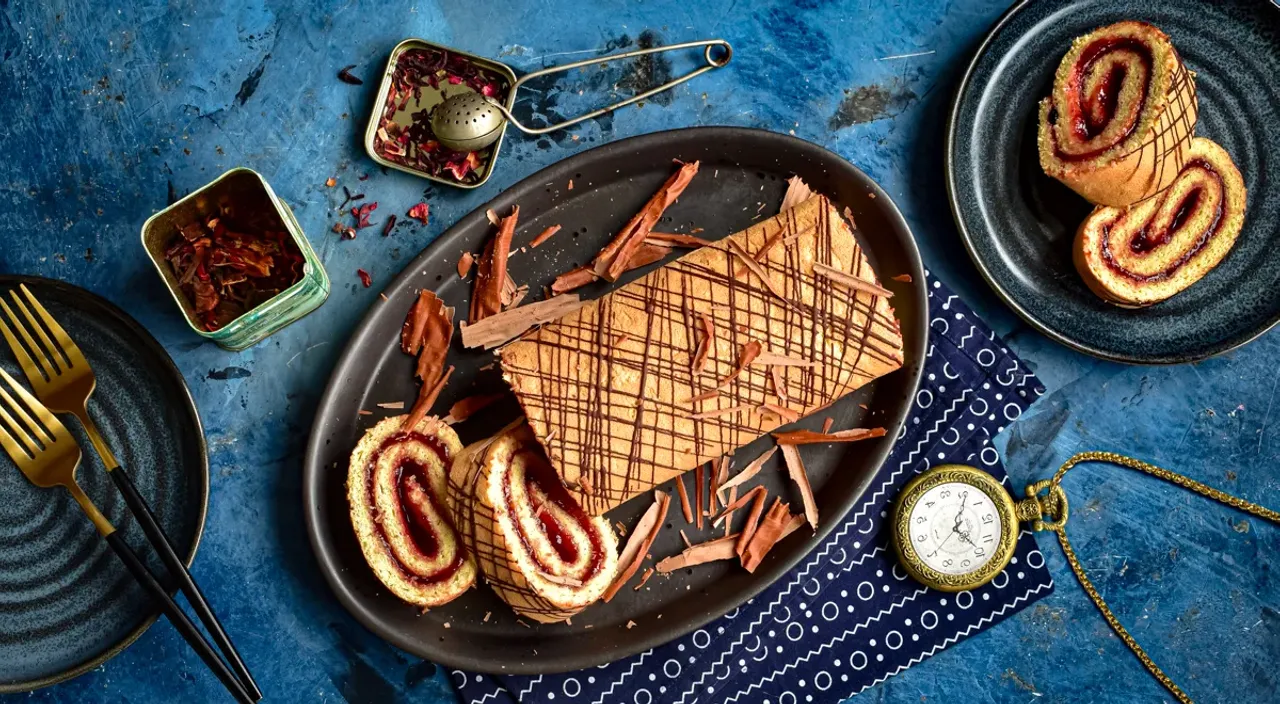
Do you love sponge cake rolls with jam but are not always satisfied with store-bought options? Here is a simple and clear recipe for this treat that will allow you to make it perfectly and as often as you like. The roll turns out very tender and, of course, exceptionally delicious. The most important thing is to prepare the sponge cake correctly, using a proven method and adhering to the baking time in the oven. The special charm of this recipe lies in the fact that different types of jam will allow you to get a new taste each time and, consequently, different gastronomic impressions.
Ingredients List
Total Ingredients: 7
Serves:
Flour - 60 g
Sugar - 130 g
Eggs - 5 pcs.
Corn starch - 20 g
Salt - to taste
Thick jam or jam - 400 g
bitter chocolate - 70 g
Nutrition Facts
Serves:
🥓
Fat
51г
🍚
Carbohydrates
258г
🥩
Proteins
44г
🔥
Kcal
Daily Values
Preparation Steps
Step 1
Prepare a sponge cake - the basis of the roll. To do this, divide eggs at room temperature (do not refrigerate!) into whites and yolks, distributing them into different deep bowls.
Step 2
Add a pinch of salt to the whites. Start beating with a mixer at medium speed until the mixture turns white. Then gradually turn to high speed and beat until soft peaks form. Add half the sugar. Beat with a mixer at high speed until stiff peaks form.
Step 3
In another bowl, beat the egg yolks with the remaining sugar with a mixer at high speed, you should get a light fluffy mass of homogeneous consistency. Make sure the sugar is completely dissolved.
Step 4
Pour the yolk mixture into the white mixture. Sift the cornstarch and flour through a fine sieve on top. Using a silicone spatula, gently stir the biscuit dough using bottom-to-top movements.
Step 5
Line a baking tray with baking paper. Preheat the oven to 180°C. Pour the biscuit dough onto the baking sheet and spread it evenly using a pastry cutter or a wide knife.
Step 6
Bake the biscuit for about 10 minutes. Remove the baking sheet from the oven, cover the sponge cake with another sheet of baking paper and carefully turn it over onto a work surface (for convenience, you can cover the sponge cake with a large board and turn it over onto it). Carefully remove the sheet of parchment on which the sponge cake was baked.
Step 7
Turn the cake over again and remove the other sheet of baking paper along with the crust on top of the pastry. It is easy to remove by rolling it with your fingers. Let the biscuit cool. Roll the cake into a tight log, wrap it in parchment paper and let cool completely.
Step 8
To fill the roll, you can use either thick jam or jam. If you want to make it more homogeneous, beat the syrup with berries or fruits with an immersion blender.
Step 9
Unroll the cooled roll and spread the jam or jam over the surface, trying to do it evenly. Roll it up. This should be done tightly, but not too tightly, so that the filling does not leak out.
Step 10
Wrap the roll first in a sheet of baking paper, then in cling film. Place in the refrigerator for 4 hours. Then take out the roll, unwrap it and place it on a plate. Melt the chocolate and pour over the product in a thin stream.
Enjoy your meal!
Follow the instructions step by step
