Prep time
10 min.
Cooking time
1 h. 30 min.
Serves
20
Difficulty
Categories
Don't want to retype the link? Scan the QR code with your camera and you'll land on this page!
On iOS, you can use the built-in camera; on Android, you need to download a QR code scanning app.
About this recipe
Qistibi Tatar-style classic recipe is very delicious and tender unleavened flatbreads with filling. Initially, this pastry was made with sweetened millet porridge cooked with the addition of milk. The version with mashed potatoes appeared later. Today, qistibi is considered a national dish not only in Tatar cuisine but also in Bashkir and Udmurt cuisine, so it can be filled with stew, crushed poppy seeds, various cereals. We present to your attention an authentic recipe option with millet and milk-based dough. To properly cook a delicious millet porridge for the filling, there are several nuances that we will tell you about.
Ingredients list
Total ingredients: 10
Serves:
Flour - 600 g
Milk - 300 ml
Vegetable oil - 50 ml
Salt - ½ tsp.
Butter for greasing finished flatbreads - to taste
Krupa Uvelka Friendship rice and millet - 250 ml
Milk - 2 glass
Butter for greasing finished flatbreads - 100 g
Sugar - 2 tbsp.
Salt - to taste - to taste
Nutrition facts
Serves:
🥓
Fat
247г
🍚
Carbohydrates
660г
🥩
Proteins
115г
🔥
Kcal
Daily values
Preparation steps
Step 1
Prepare the dough. Heat the milk to 35-40°C, pour oil into it and add salt, mix thoroughly. Gradually add the sifted flour to the milk mixture, stirring constantly.
Step 2
Dust your work surface with flour and remove the dough from the bowl. Knead the dough until it stops sticking to your hands and becomes smooth and uniform. Place the dough under film for 30 minutes.
Step 3
Prepare the millet for cooking. To do this, sort out the cereal (if it is not of the highest grade) and rinse in cold water 5-6 times until the water becomes completely clear. Pour boiling water over the millet for 5 minutes, drain the water and repeat the process one more time. This is necessary to get rid of possible bitterness and not spoil the taste of the finished porridge.
Step 4
Place the prepared millet in a saucepan with a thick bottom, pour in two cups of boiling water (you may need a little more or less), the water should cover the grain by 1 cm from above. Place the pan over low heat and cook the porridge for 15 minutes, stirring occasionally.
Step 5
Heat the milk. Pour it into the porridge (15 minutes after it boils). Add butter, a couple of pinches of salt and sugar. Mix everything thoroughly. Continuing to stir constantly, cook the porridge for another 5-7 minutes. Remove from heat and let sit.
Step 6
Divide the dough into 20 equal parts, roll them into balls and put them under film. Take out the koloboks one at a time and roll them into round cakes, 1 mm thick.
Step 7
Fry the flatbreads in a frying pan without oil on both sides until cooked. The dough should completely change color, and rosy spots will appear in some places. Place the finished flatbreads in a heap on a plate and cover with a towel.
Step 8
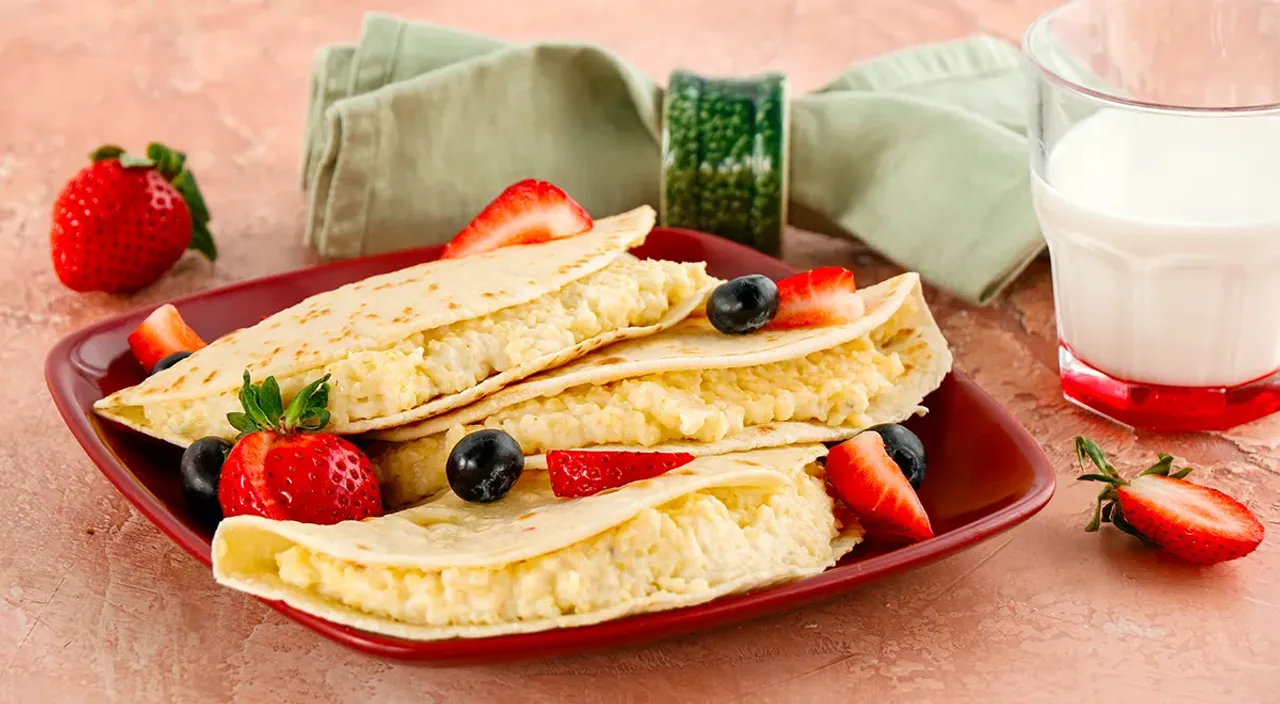
Spread the filling evenly onto one half of the finished flatbread, 5-7 mm thick, and cover with the other half of the flatbread. Grease each kystyby with melted butter. Serve on a large platter, heaping the tortillas.
Enjoy your meal!
Follow the instructions step by step