Prep time
3 h.
Cooking time
1 h.
Serves
12
Difficulty
Categories
Don't want to retype the link? Scan the QR code with your camera and you'll land on this page!
On iOS, you can use the built-in camera; on Android, you need to download a QR code scanning app.
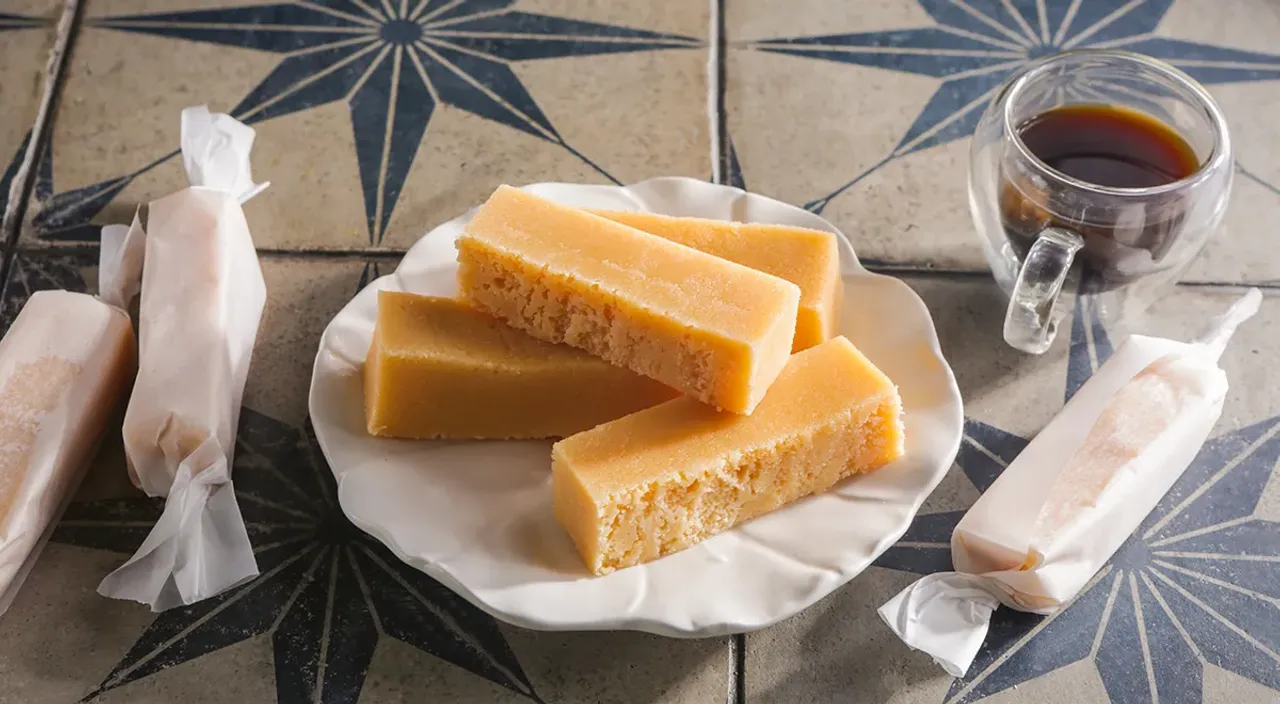
About this recipe
Homemade "Korovka" candies are a treat from distant childhood that many of us remember with a touch of nostalgia. And few people know that they can be quite easily prepared in your own kitchen using the most readily available ingredients (regular and condensed milk, sugar, and butter). The most challenging part is determining the readiness of the candy mixture: it is best to do this by measuring the temperature with a culinary thermometer. And this is indeed very important because if you leave the mixture on the stove for too long, you'll end up with toffee instead of "Korovka"!
Ingredients list
Total ingredients: 4
Serves:
Milk 3.2% (pasteurized) - 150 ml
Condensed milk with sugar - 150 g
Sugar - 400 g
Butter - 75 g
Nutrition facts
Serves:
🥓
Fat
79г
🍚
Carbohydrates
491г
🥩
Proteins
15г
🔥
Kcal
Daily values
Preparation steps
Step 1
First of all, prepare your candy mold. A small glass one (about 20x30 cm in size) will do. It must be lined with cling film so that the walls and bottom are covered.
Step 2
Pour milk into a saucepan. Add condensed milk, butter and sugar. Place on high heat. Stirring, bring to a boil. Reduce the heat to low and cook the milk mixture for candies until caramel color (up to a temperature of 130°C). Stir occasionally.
Step 3
Remove the candy milk mixture from the heat and place in a cold water bath and immediately beat with a mixer on high speed (the process will take 5 minutes). Pour the resulting mixture into the prepared pan.
Step 4
Let cool and place the pan in the refrigerator for 30 minutes. You can also leave the mixture for 3-4 hours at room temperature. Then remove the hardened layer from the mold, helping yourself with the edges of the cling film.
Step 5
Turn the resulting workpiece over onto the board. Remove the film. Cut the hardened layer with a sharp knife into candies. Wrap each one in a sheet of baking paper or foil.
Enjoy your meal!
Follow the instructions step by step