Prep time
10 min.
Cooking time
2 h. 30 min.
Serves
15
Difficulty
Categories
Don't want to retype the link? Scan the QR code with your camera and you'll land on this page!
On iOS, you can use the built-in camera; on Android, you need to download a QR code scanning app.
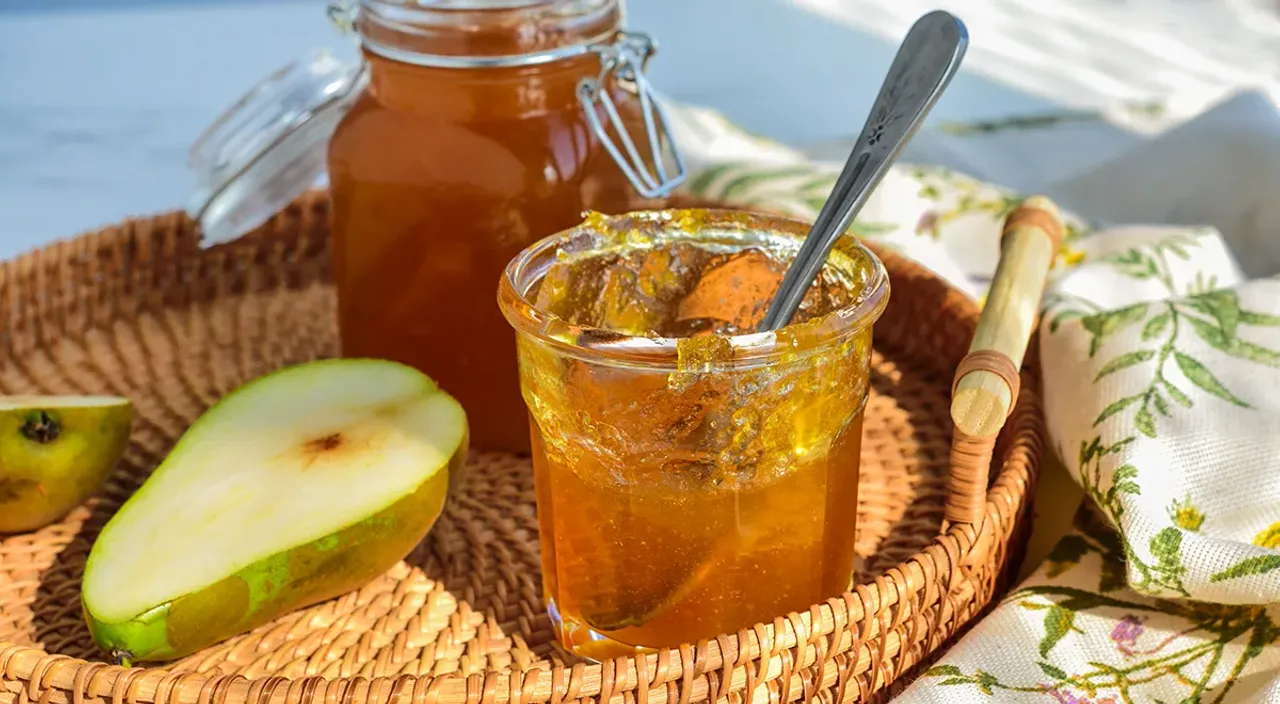
About this recipe
Pear jam is a homemade product that even a novice cook can easily make. You don’t have to work magic over a bowl of syrup or somehow cleverly prepare the fruit mass. It is enough to randomly chop the pears and boil them until soft, then chop them with a blender and simmer over low heat until the desired thickness. It is important to note that for this jam you can use any pears, even overripe ones. For a richer flavor, add lemon juice, zest and lemon slices to the pears. You can cook jam even without adding sugar - as a rule, pears have enough of their own sweetness. But if the product is intended for long-term storage, sugar will still have to be added. The finished jam is great for filling pies or layering sponge cake layers, and can also be served with waffles, pancakes or pancakes.
Ingredients list
Total ingredients: 3
Serves:
Pear - 1 kg
Lemon - 1 pcs.
Sugar - 500 g
Nutrition facts
Serves:
🥓
Fat
3г
🍚
Carbohydrates
609г
🥩
Proteins
5г
🔥
Kcal
Daily values
Preparation steps
Step 1
Wash the lemon thoroughly with a stiff brush in hot water. This is necessary in order to remove the waxy layer applied to citrus fruits for long-term storage of the fruit. Use a fine grater to remove the yellow zest, avoiding the white part of the peel - it gives bitterness.
Step 2
Peel the lemon. Disassemble the lemon into slices, remove membranes and seeds. Hold the lemon over a small bowl - the juice will drip into it, which we will add to the pears.
Step 3
Cut the peeled pears in half lengthwise and remove the seed capsule. To do this, it is very convenient to use a small spoon to cut out fruit balls. Place the halves on a cutting board and randomly cut into small pieces.
Step 4
Place the pear and lemon slices in a large low saucepan and add the zest and juice. Add 250 g of sugar and stir. Cover the pan with a lid and leave for 1 hour to allow the fruit to release its juice.
Step 5
Place the pan on the stove, set the heat to low and bring the mixture to a boil. Add the remaining sugar and cook for 30 minutes. Stir the fruit mixture several times with a wooden spoon or spatula.
Step 6
If foam begins to appear on the surface of the jam, remove it - it can affect the taste and overall appearance of the jam. It is convenient to remove the foam with a wooden spoon, a metal slotted spoon or a small strainer.
Step 7
Grind the hot fruit mixture with an immersion blender. Alternatively, you can simply mash the mixture thoroughly with a mashed potato masher or rub through a sieve.
Step 8
Bring the mixture to a boil again and simmer over low heat until desired thickness, about 30-40 minutes. Stir the jam frequently with a spatula, because... it can easily burn.
Step 9
Place the thoroughly washed jars in a cold oven, set the heat to 150°C and leave for 15 minutes. Wash the lids with baking soda, pour boiling water over them and leave for 10 minutes. You can sterilize jars in the microwave.
Step 10
Fill the prepared jars to the top with hot jam and seal tightly. Turn the jars upside down, cover with a terry towel and let the jam cool completely.
Enjoy your meal!
Follow the instructions step by step